
Gallery
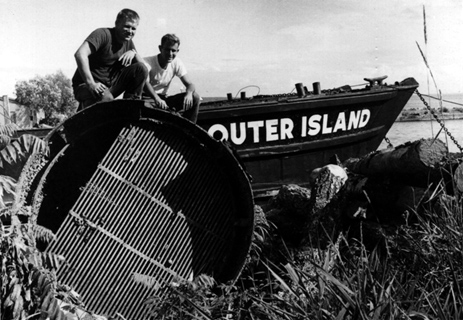
The Pretoria's boiler being salvaged in the 1960s
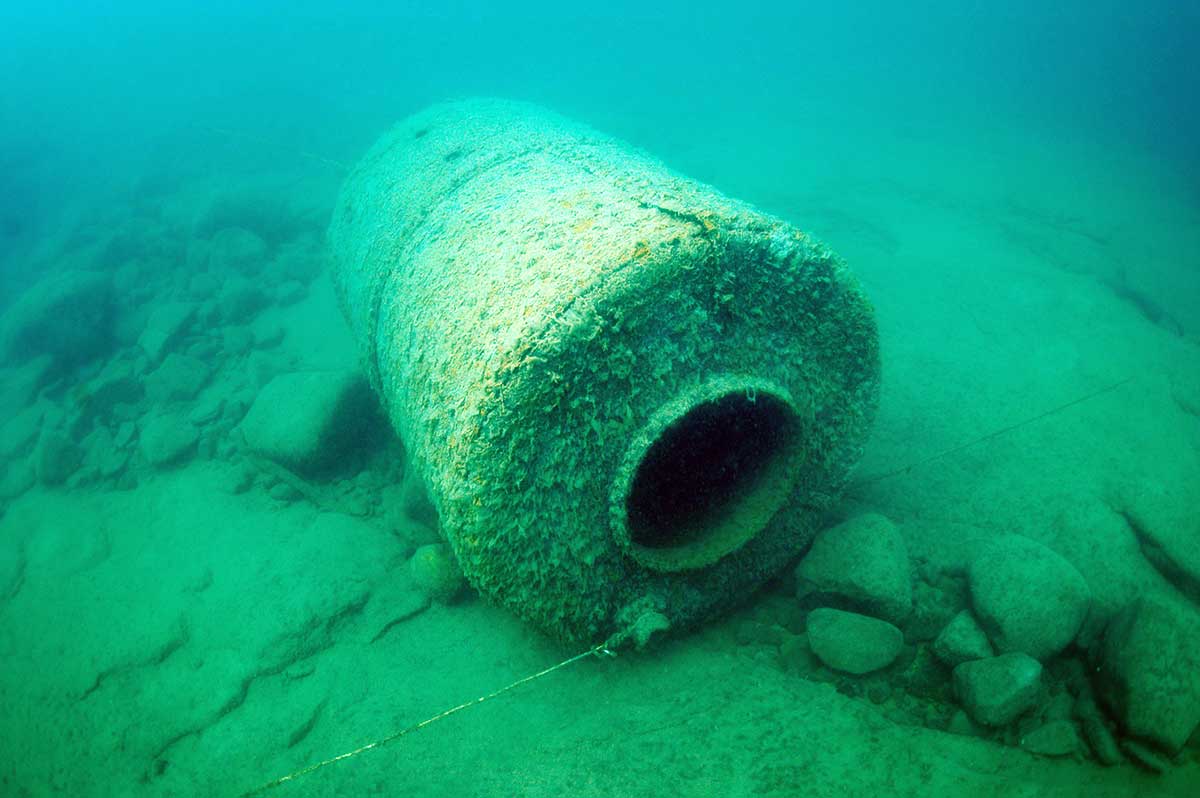
Pretoria's donkey boiler
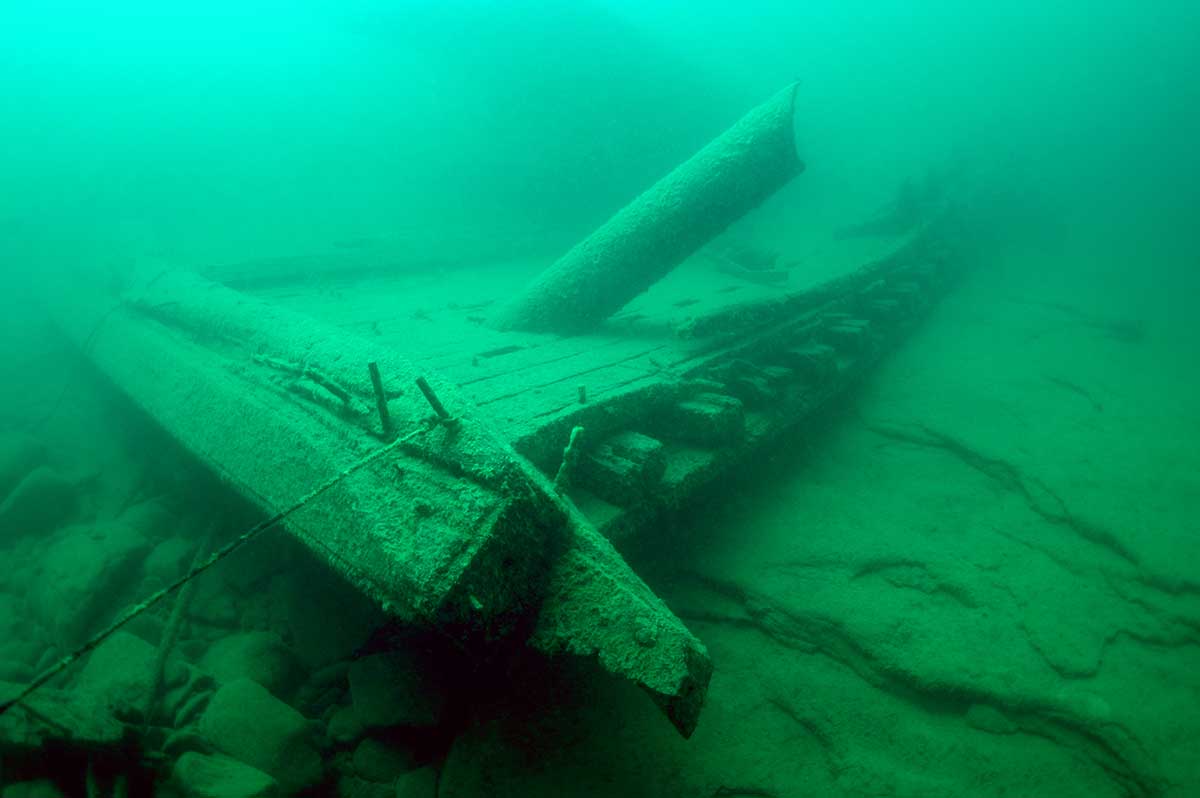
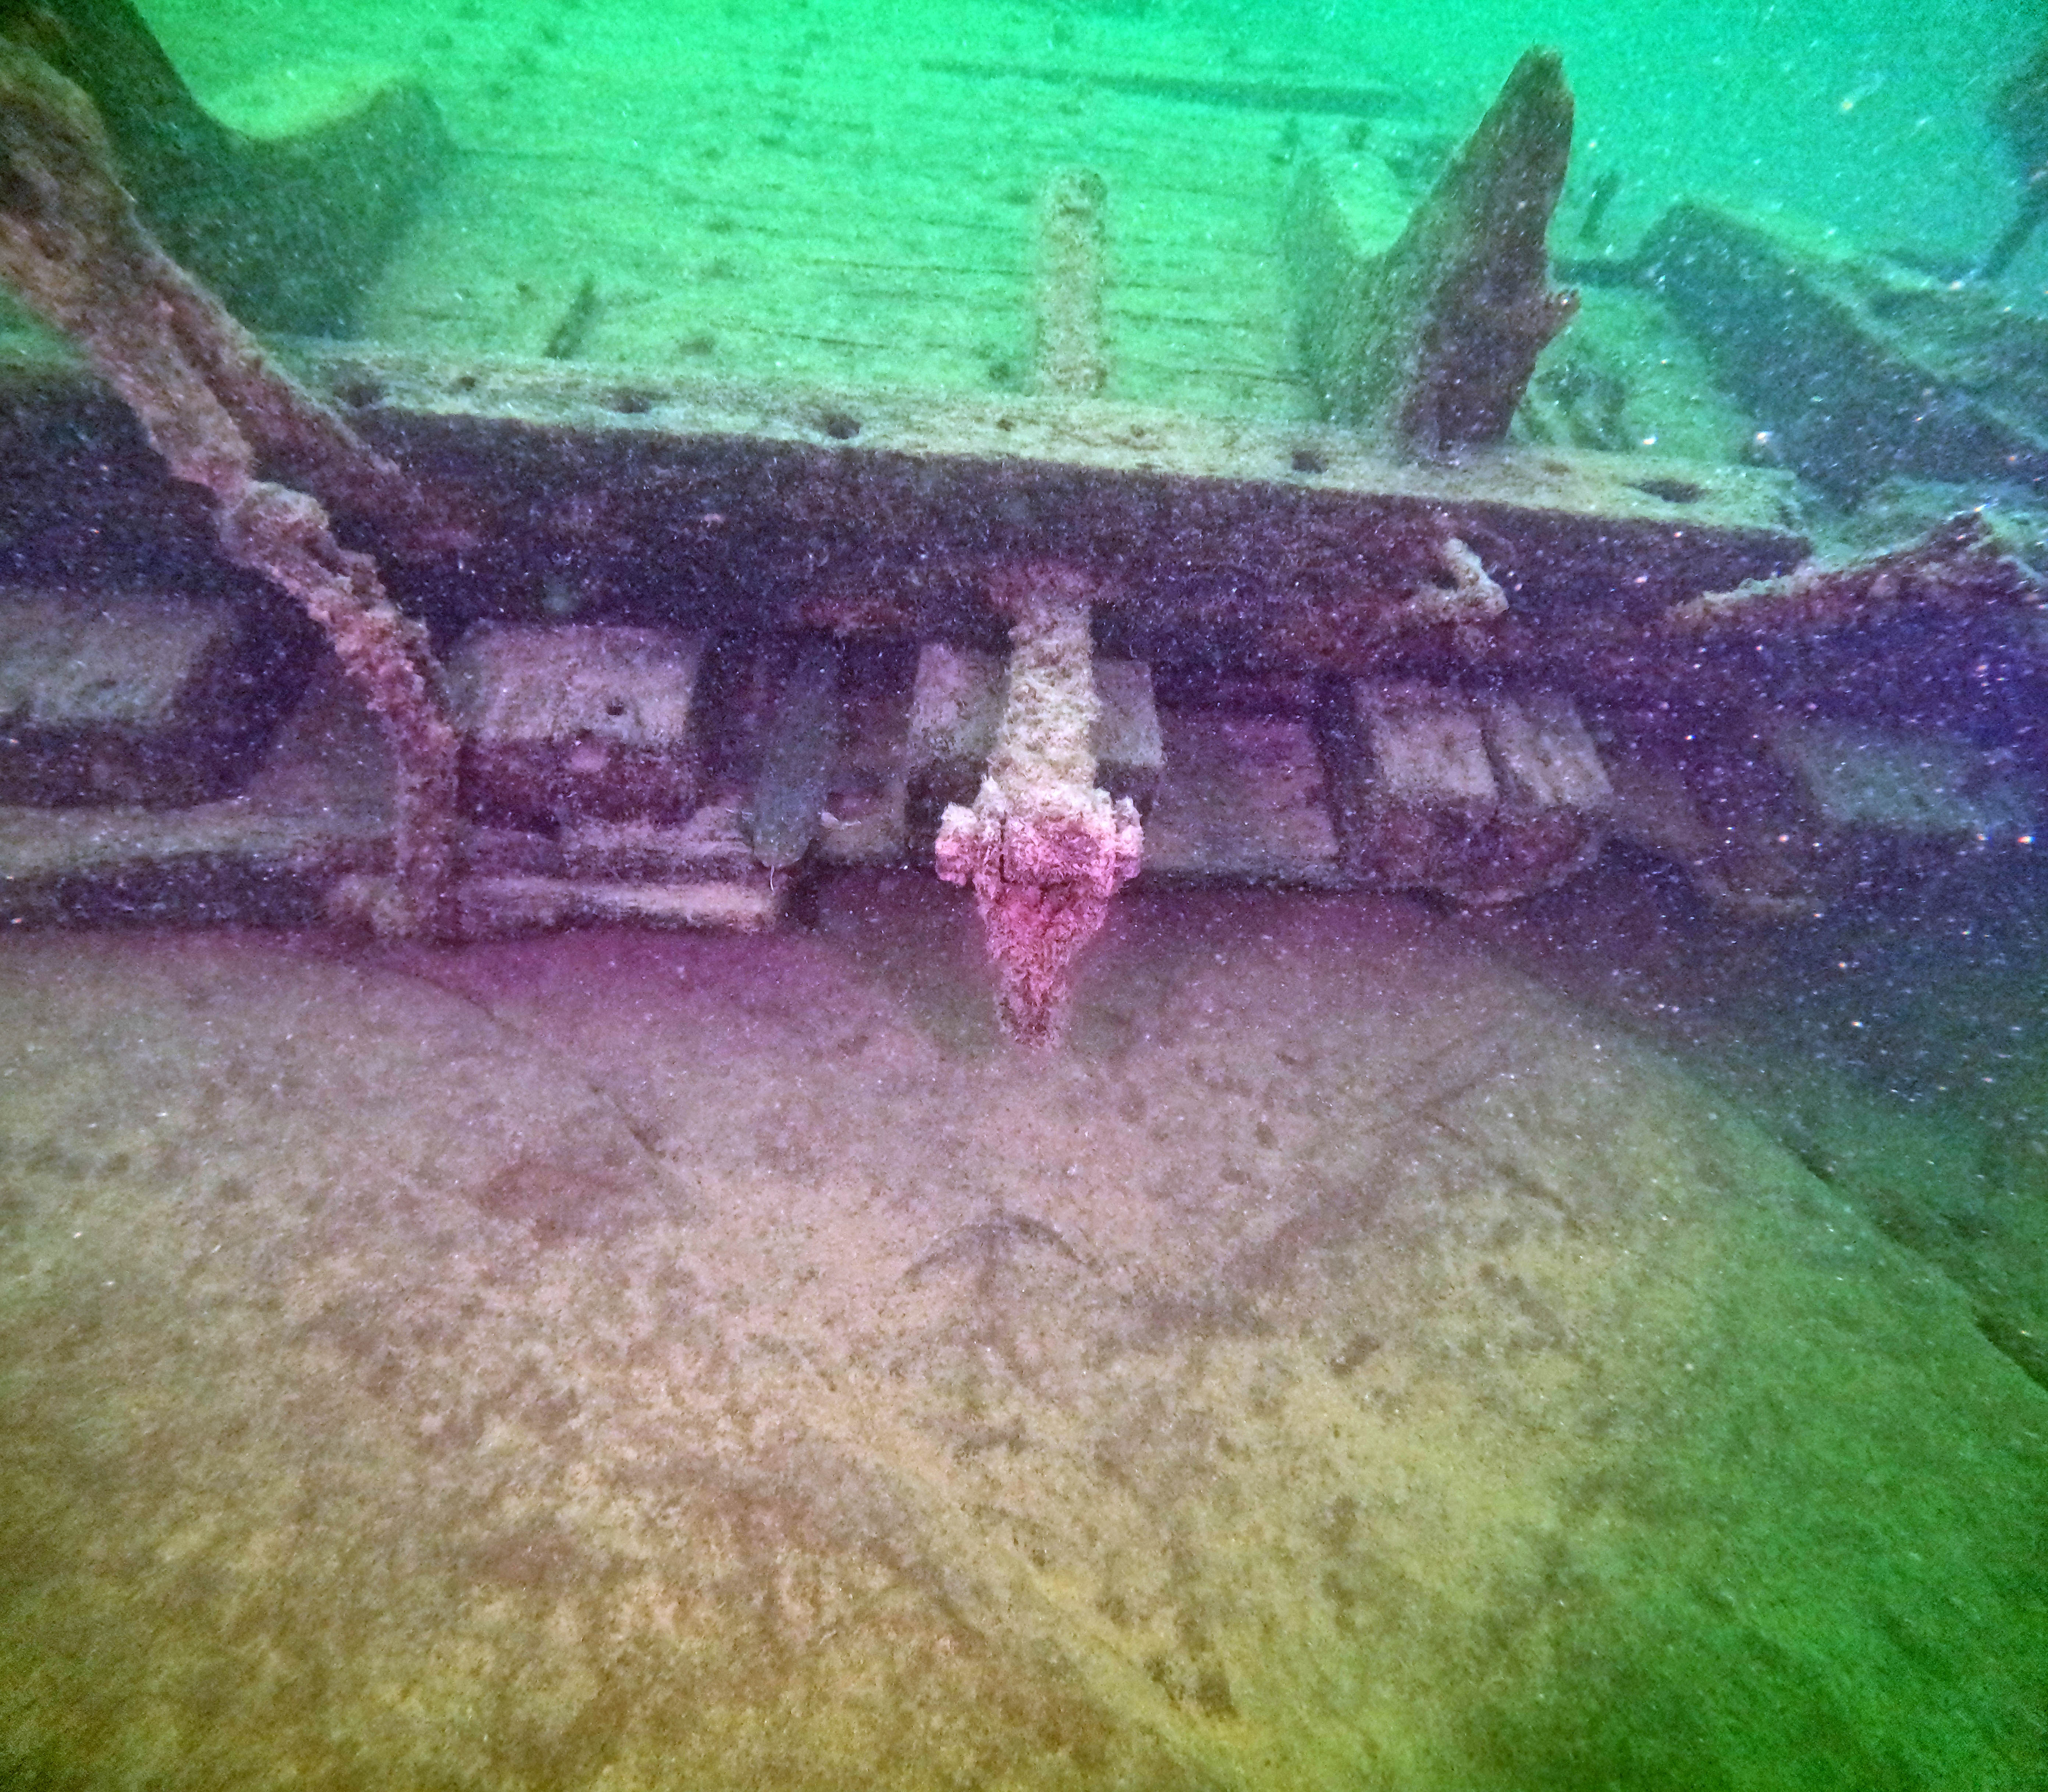
Pretoria's stem post and port side ceiling planking with hawse pipe extending upwards
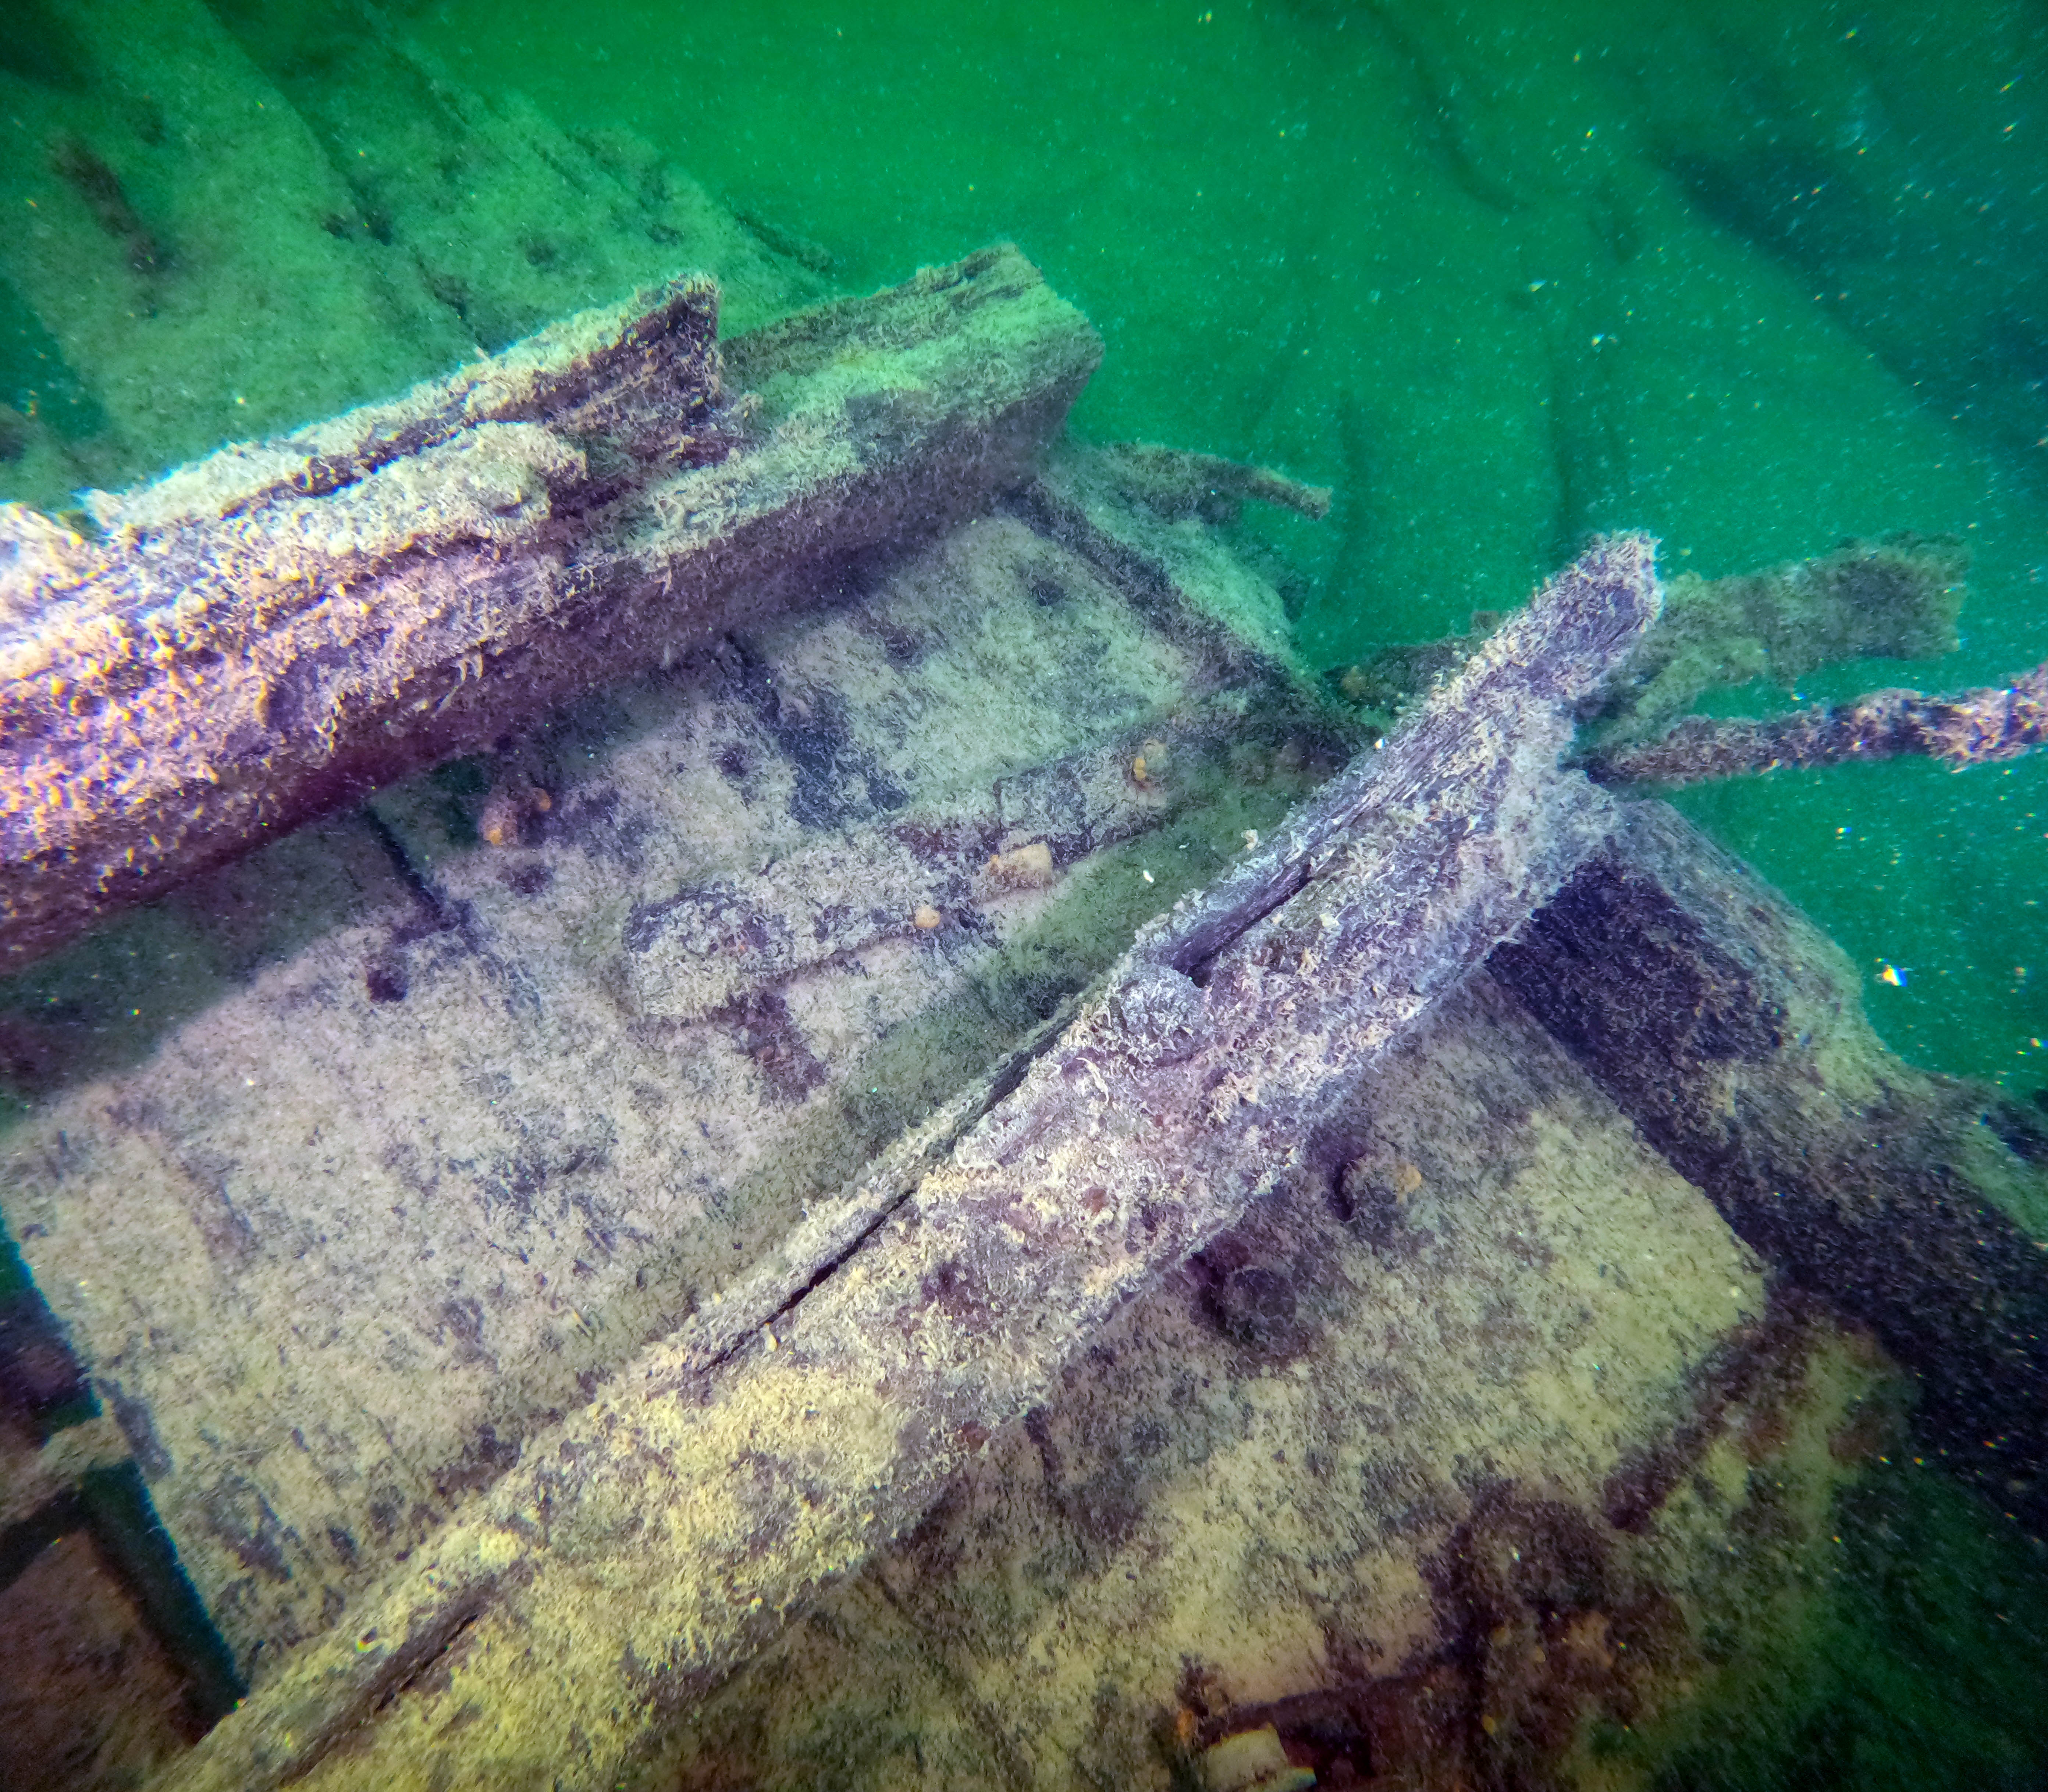
View of Pretoria's windlass
Pretoria's iron lined keelson at the vessel's stern looking forward
Site Plan of the Pretoria
Pretoria on the Ways Prior to Launch

Pretoria Being Launched at West Bay City, Michigan. Ralph K. Roberts
Pretoria Docked in Duluth Minnesota. Cathy Baker
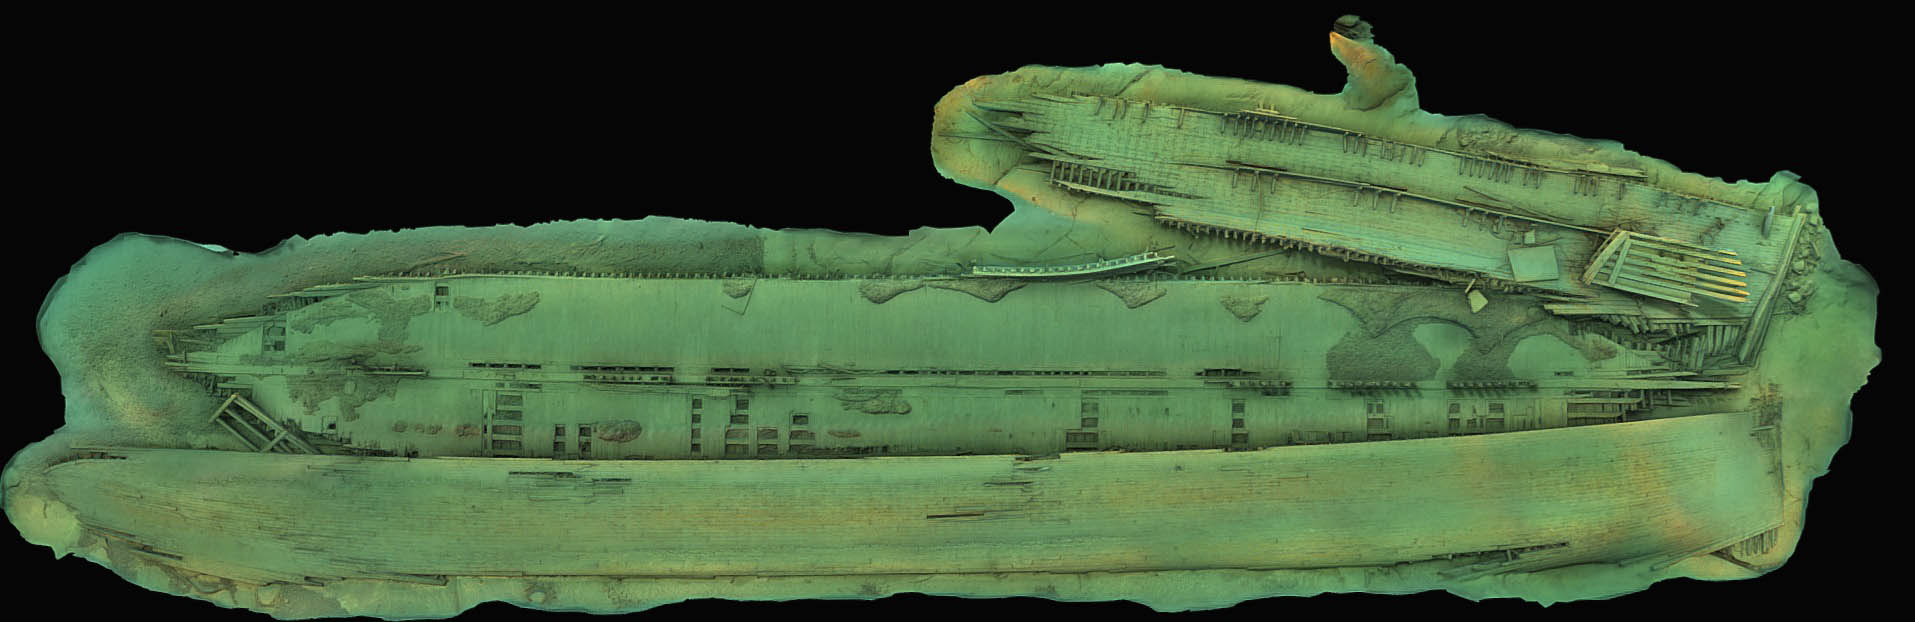
Top View of the Photogrammetry Model of the Pretoria. Ken Merryman https://3dshipwrecks.org/.
You can view the model here: https://skfb.ly/oWJnF
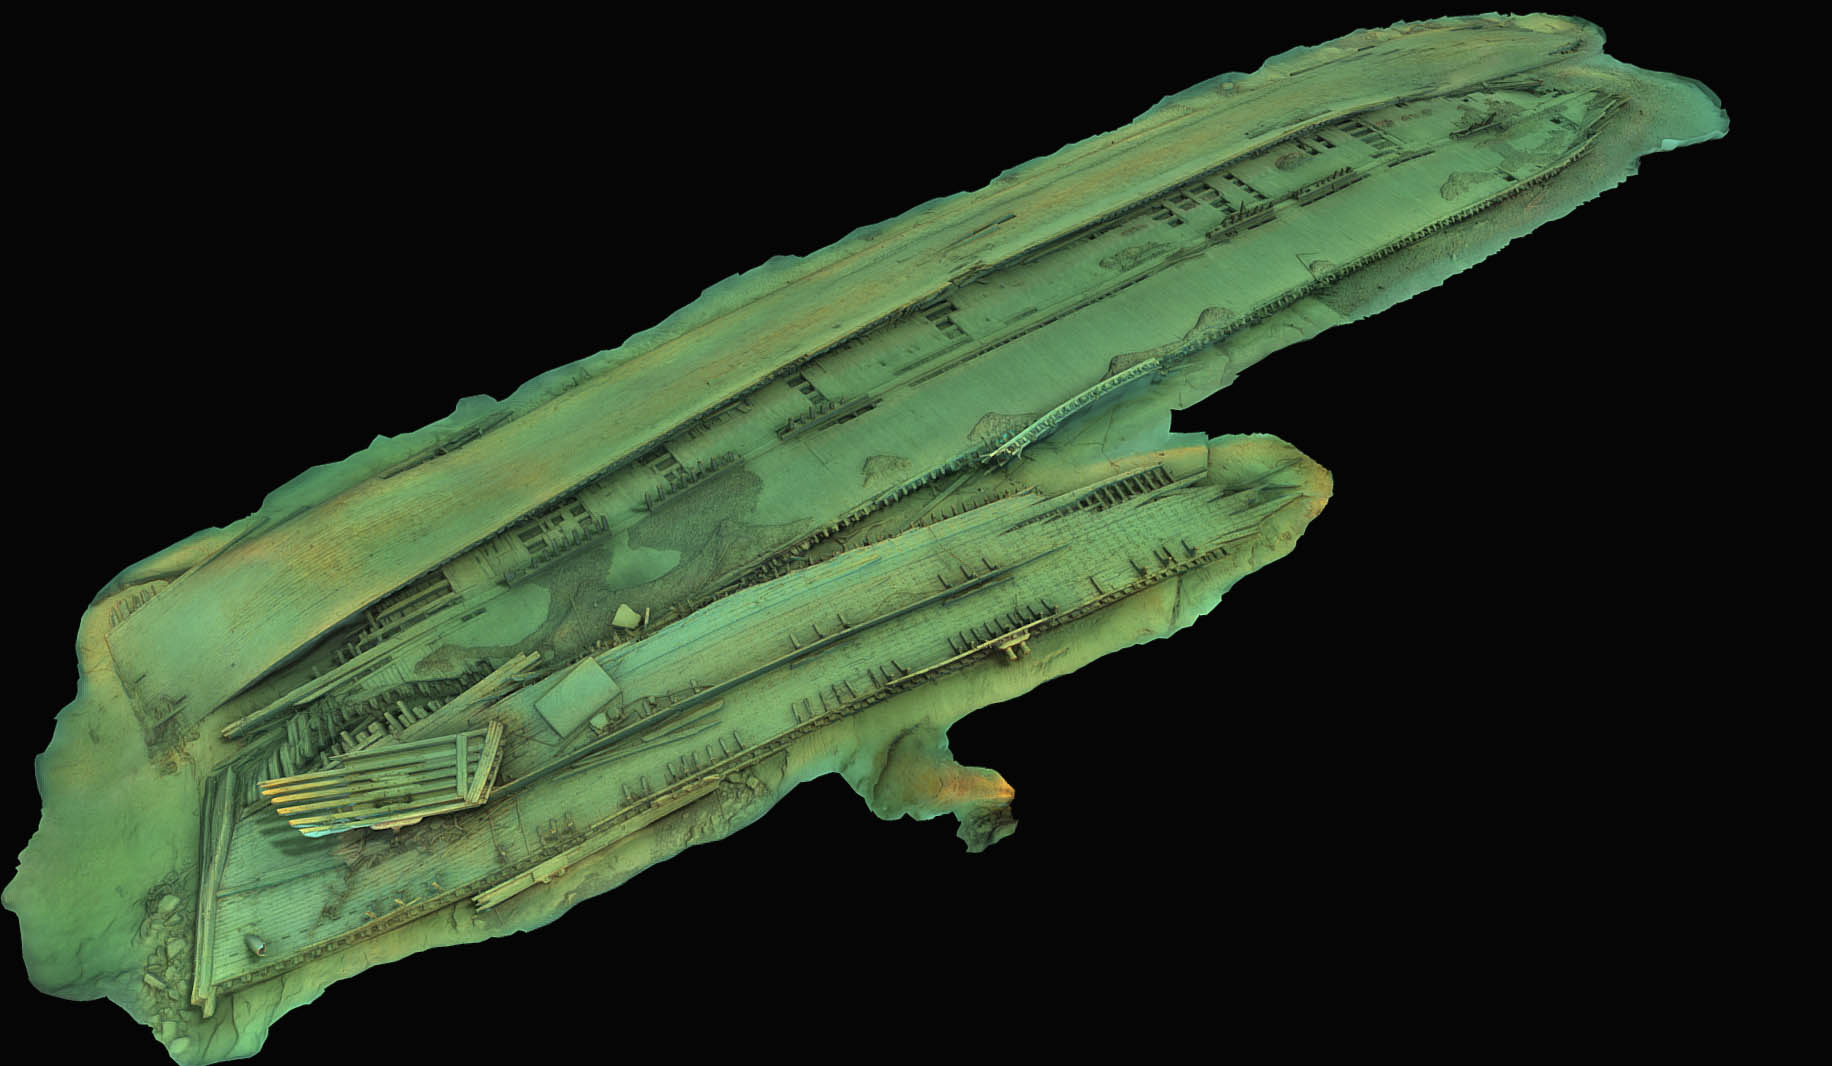
Overview of the Photogrammetry Model of the Pretoria. Ken Merryman https://3dshipwrecks.org/.
You can view the model here: https://skfb.ly/oWJnF
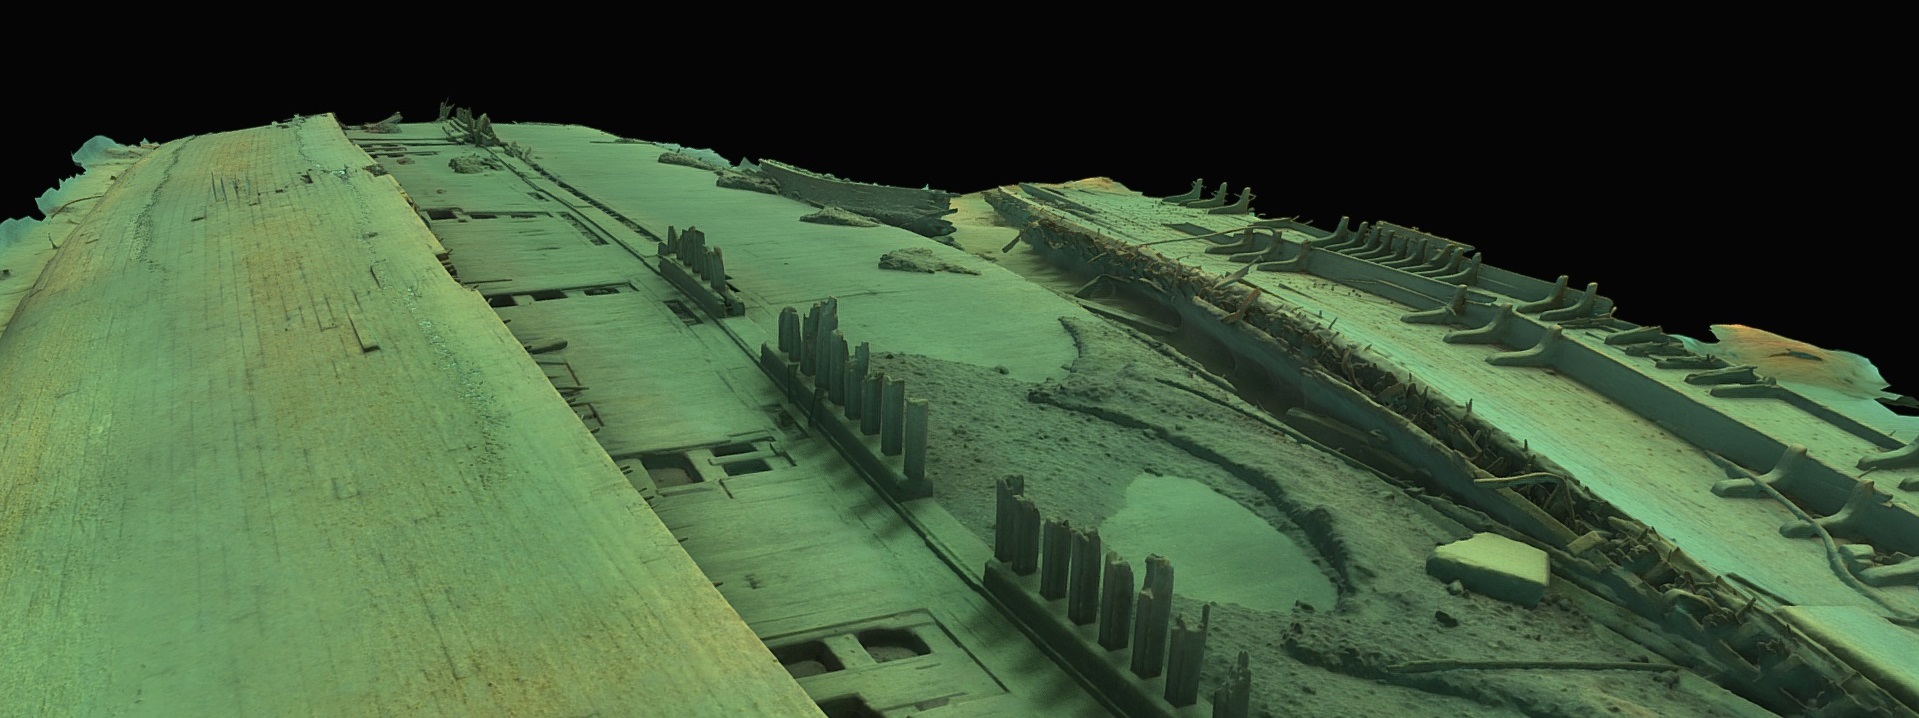
View Across the Center of the Photogrammetry Model of the Pretoria. Ken Merryman https://3dshipwrecks.org/.
You can view the model here: https://skfb.ly/oWJnF
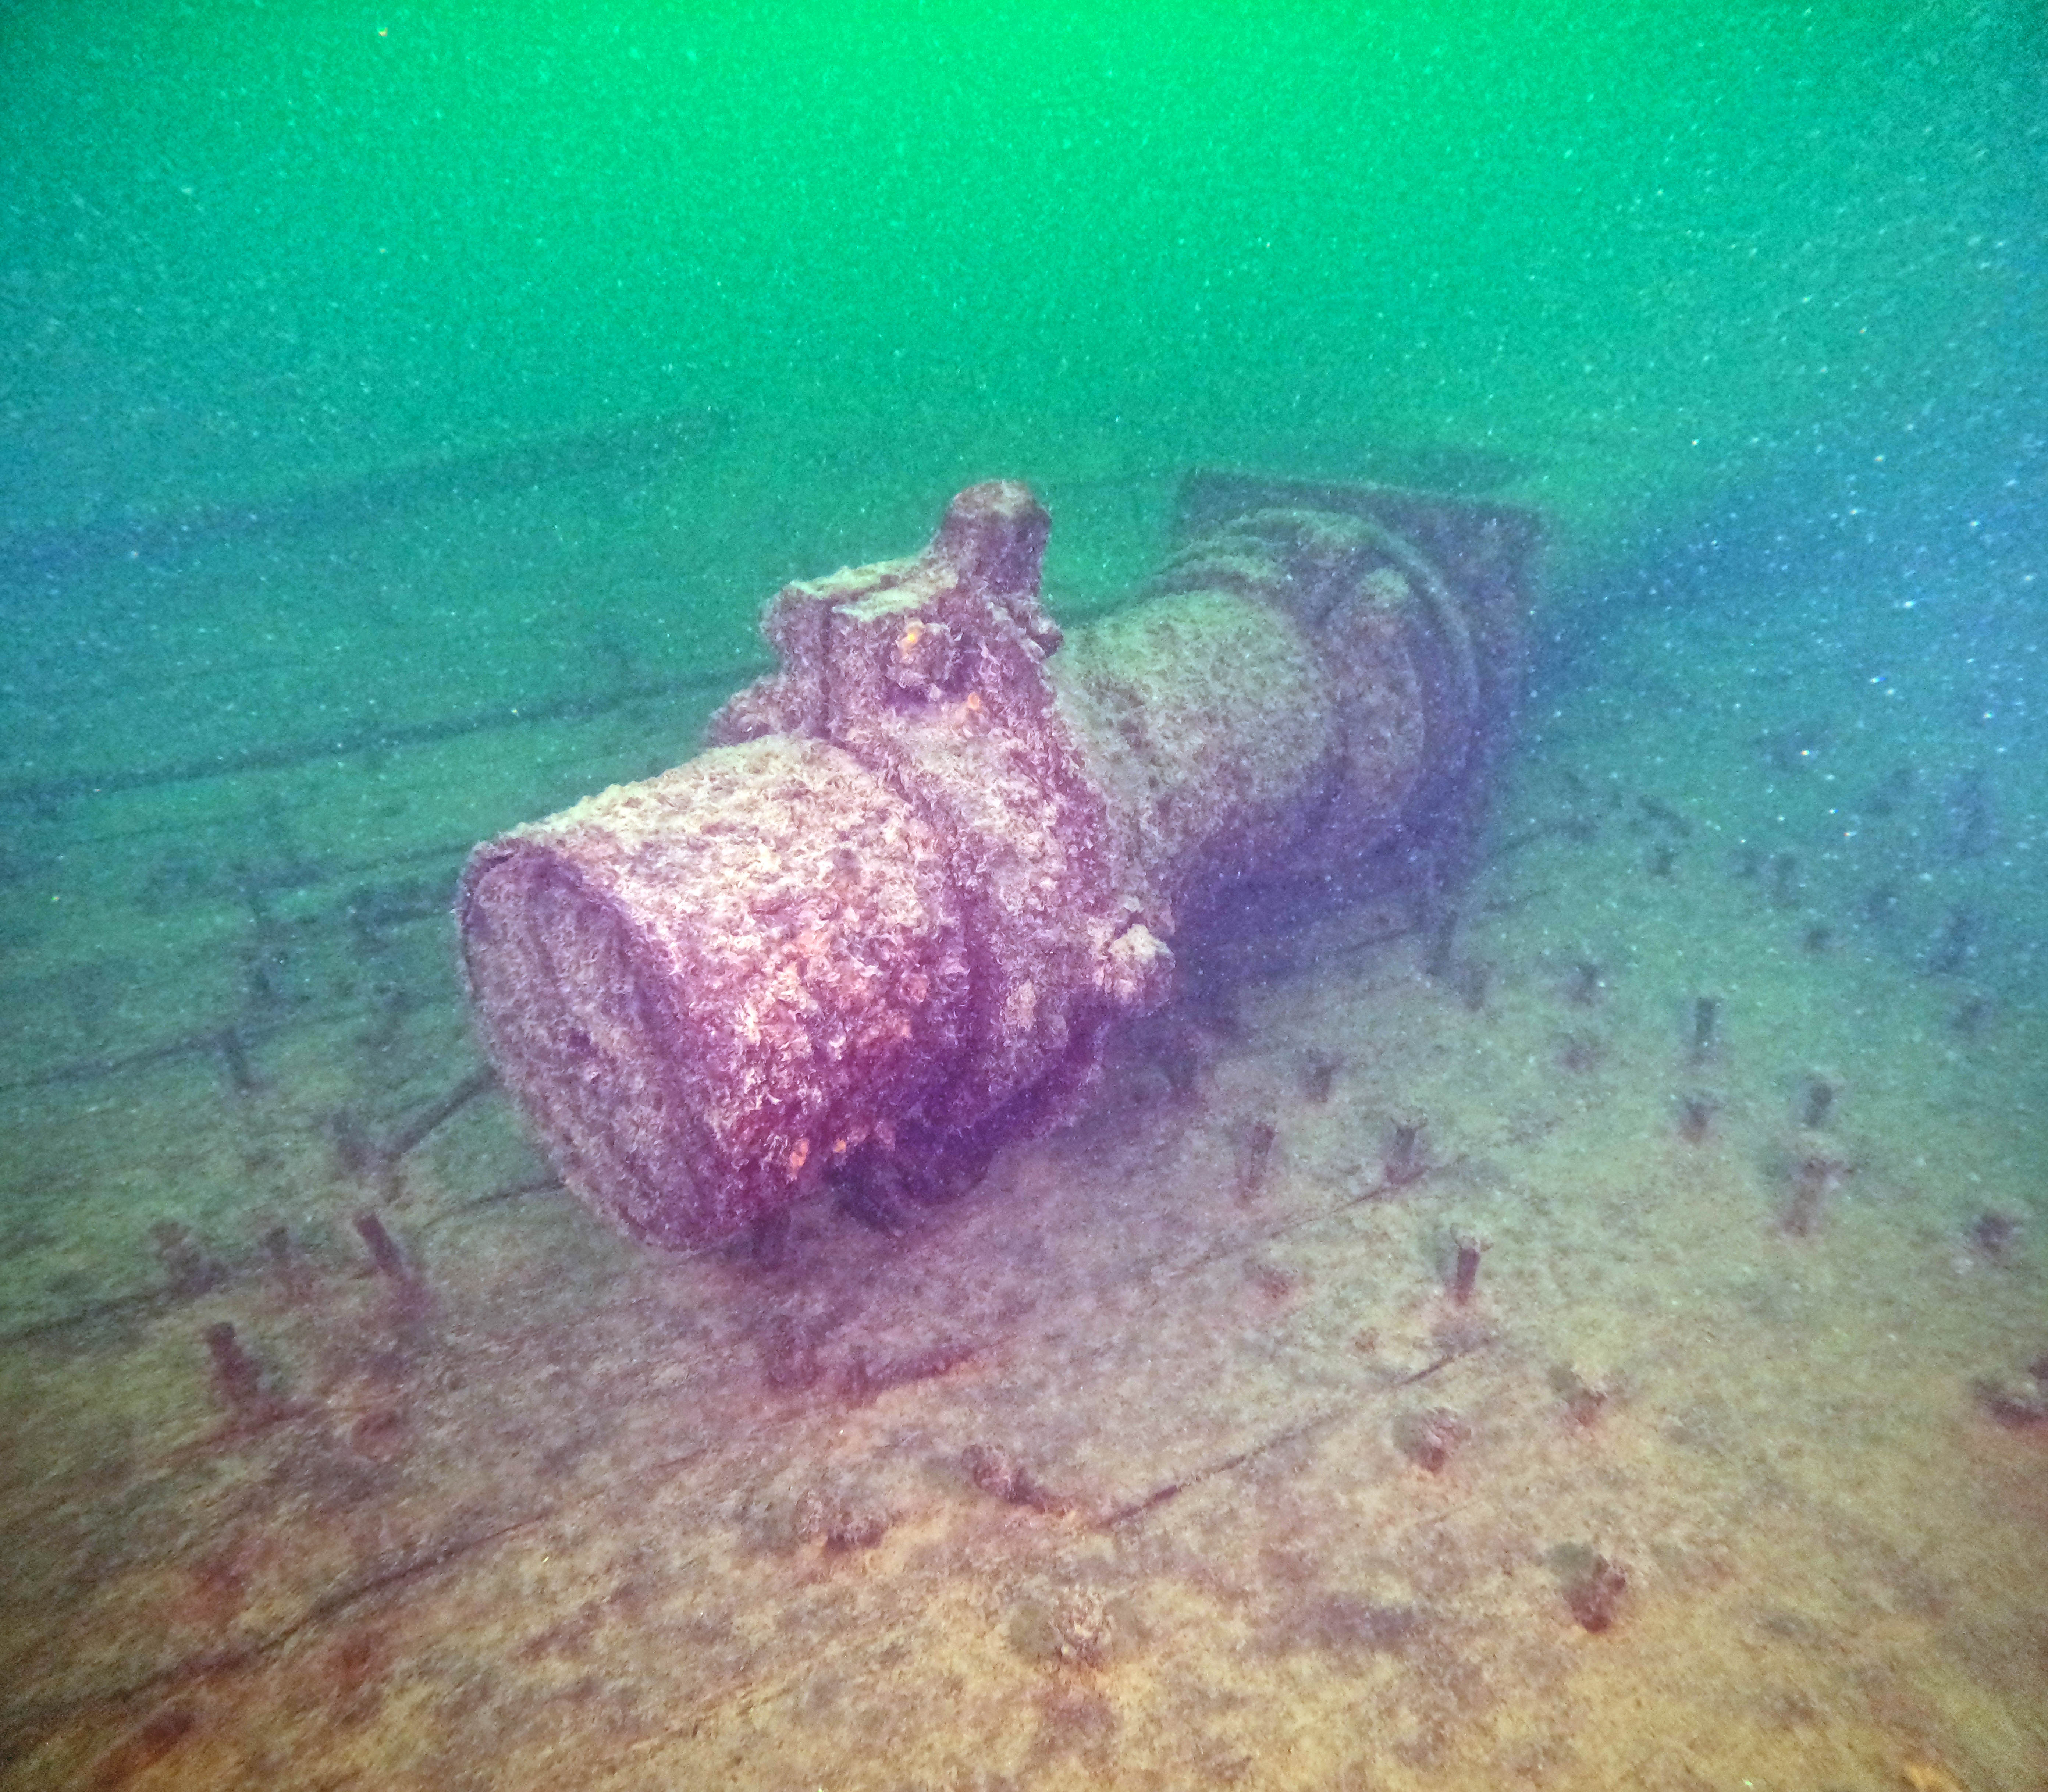
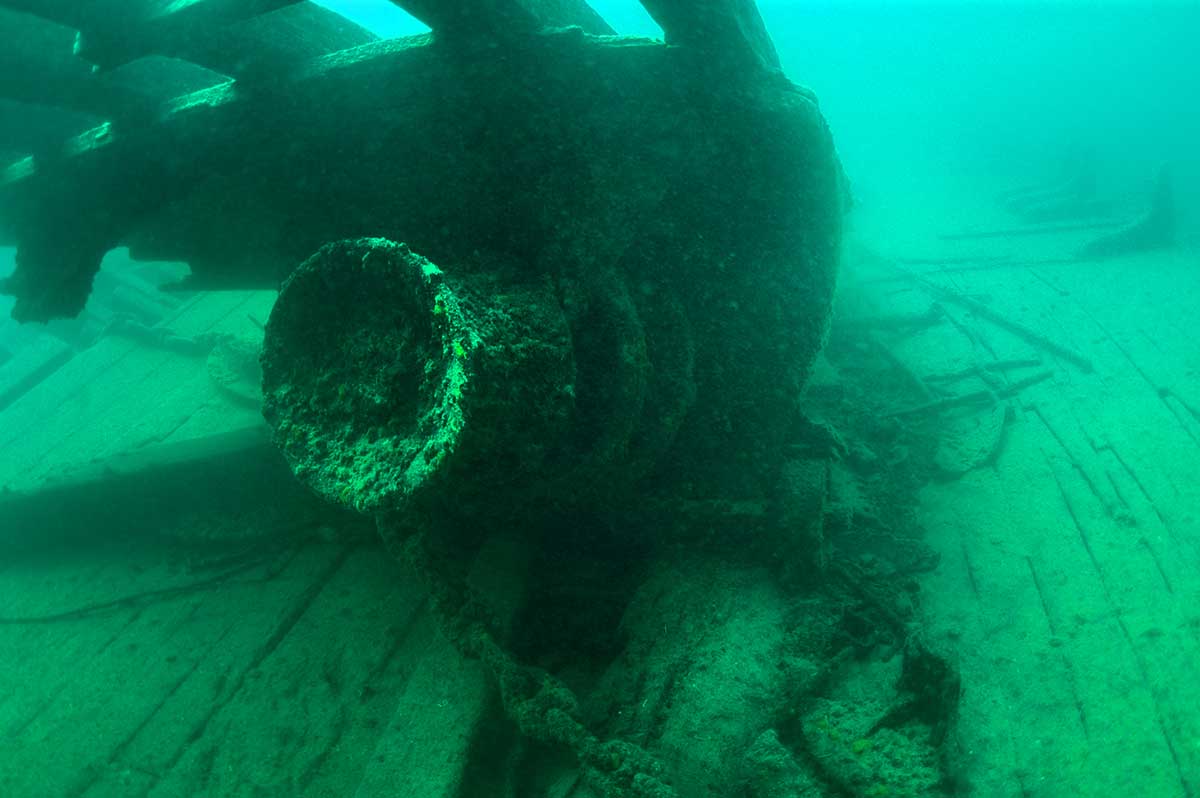
Pretoria's Bilge Pump
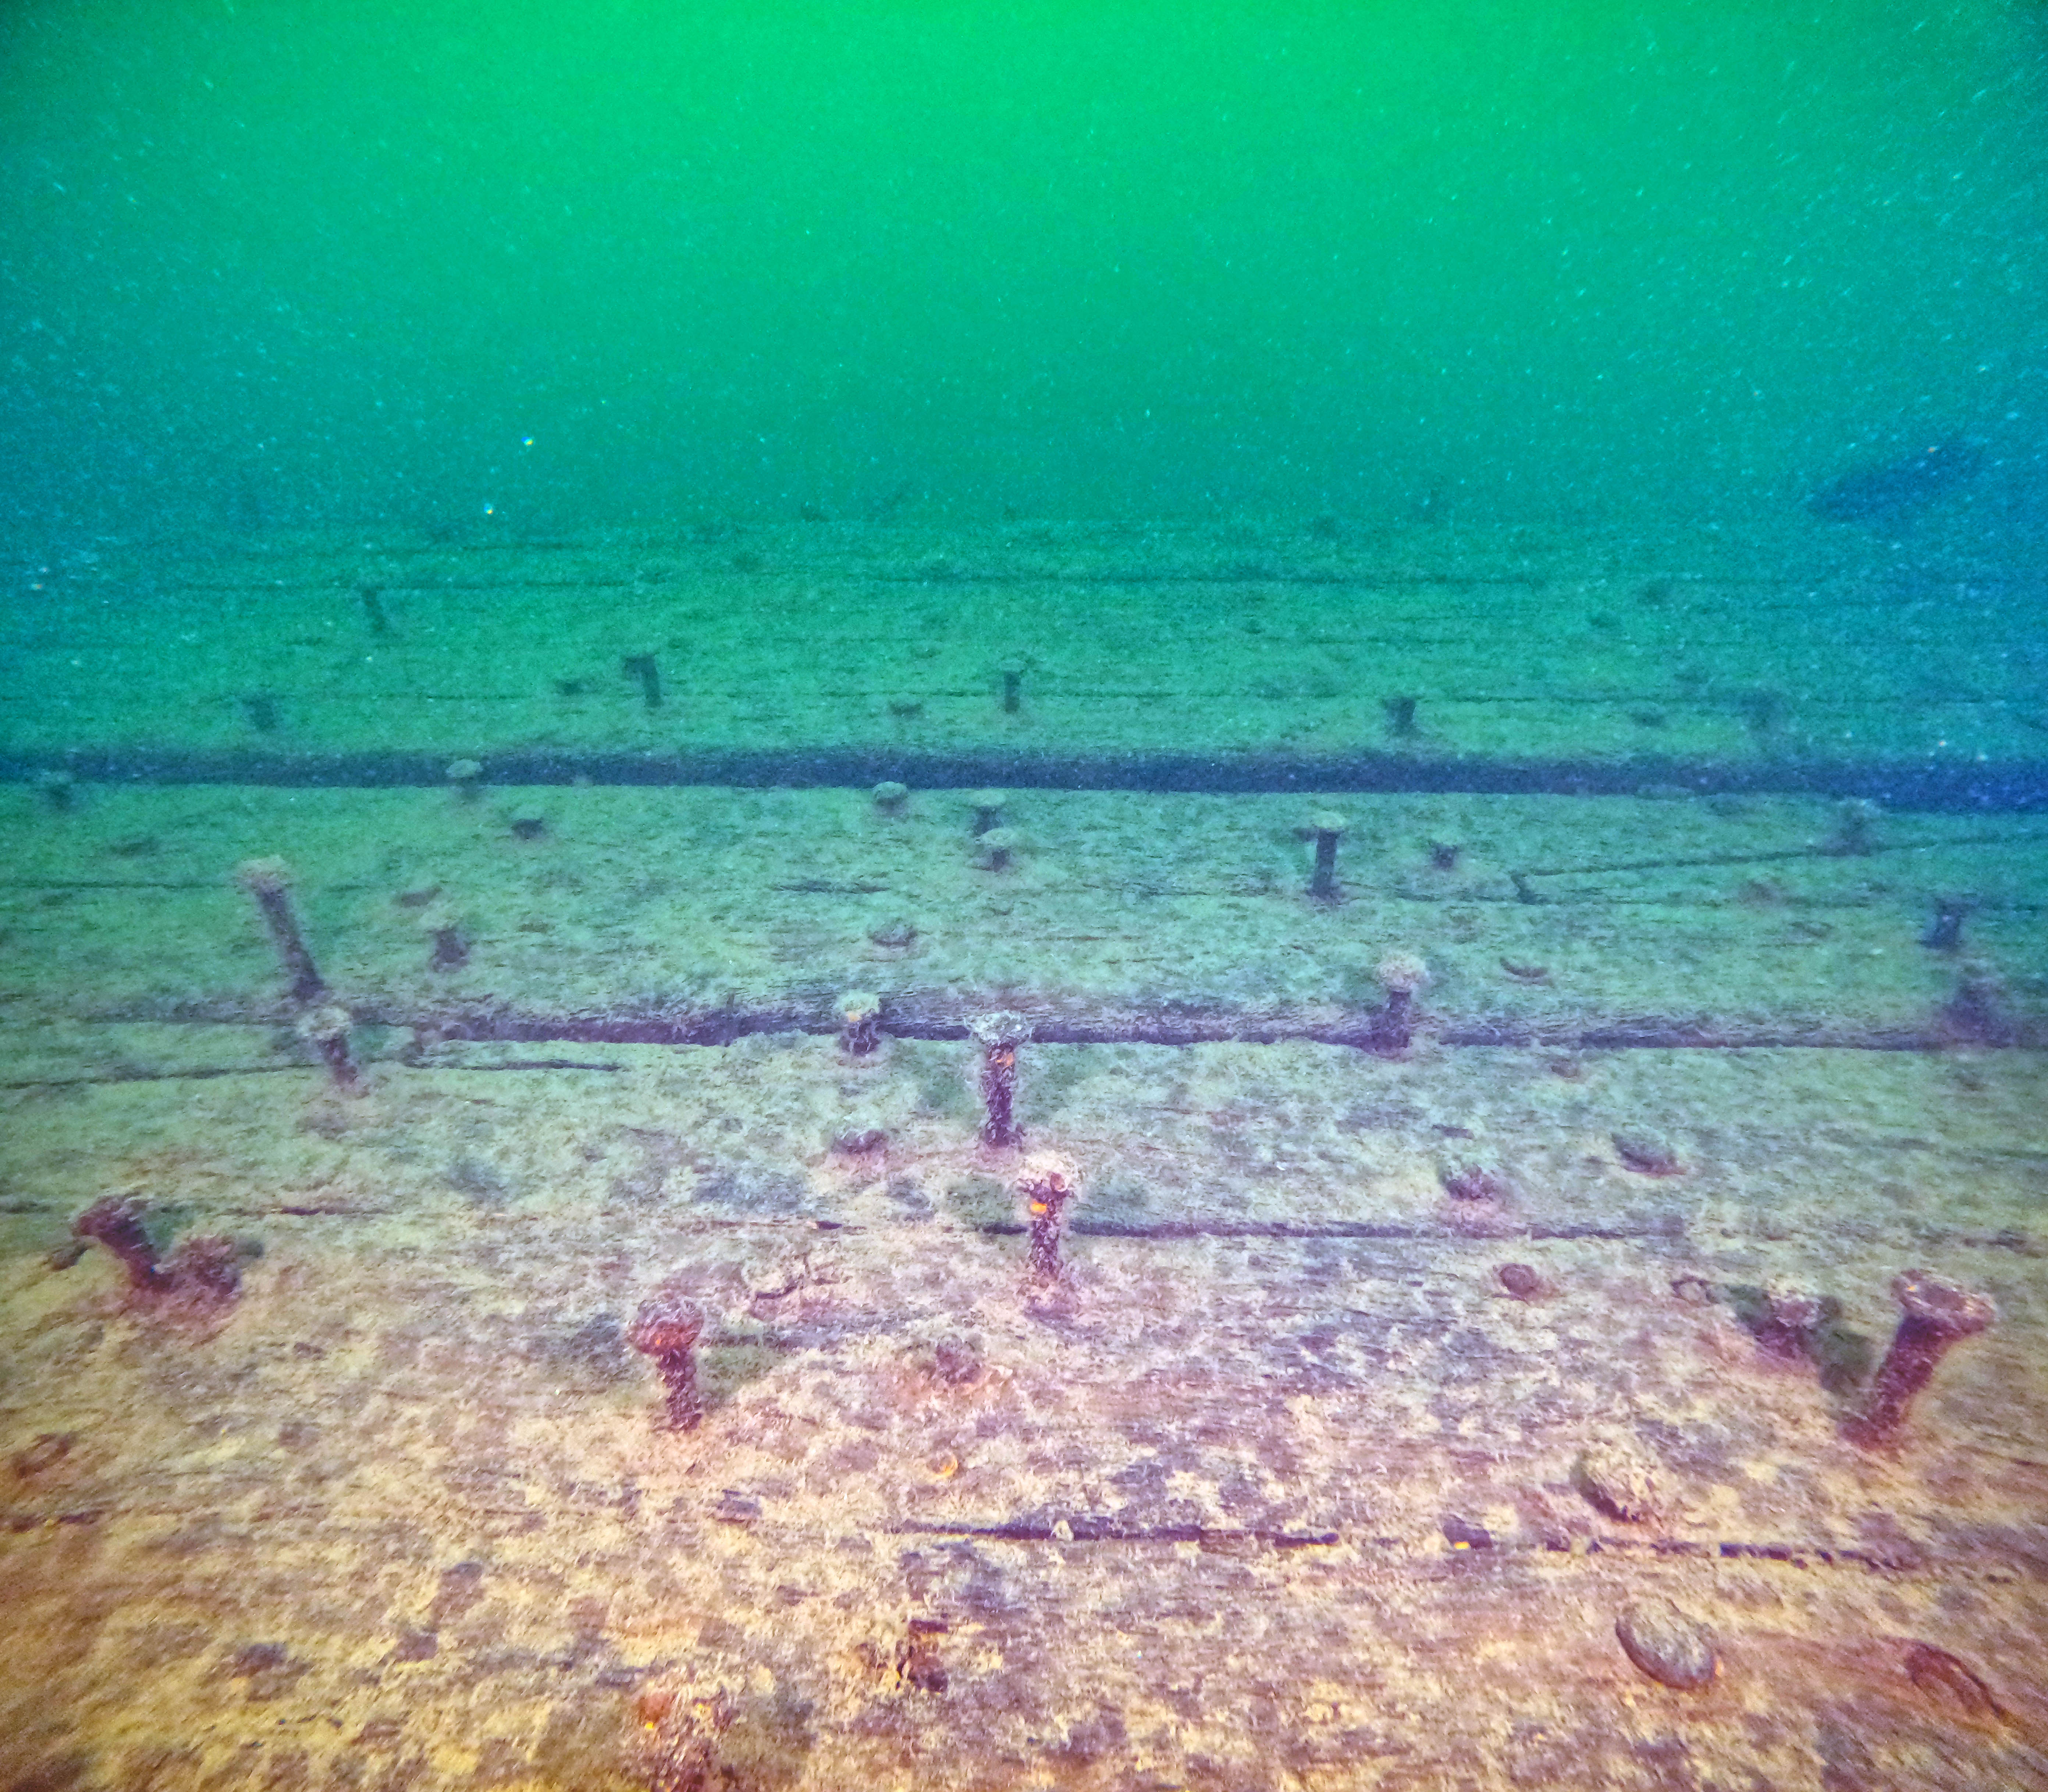
Ceiling Planking
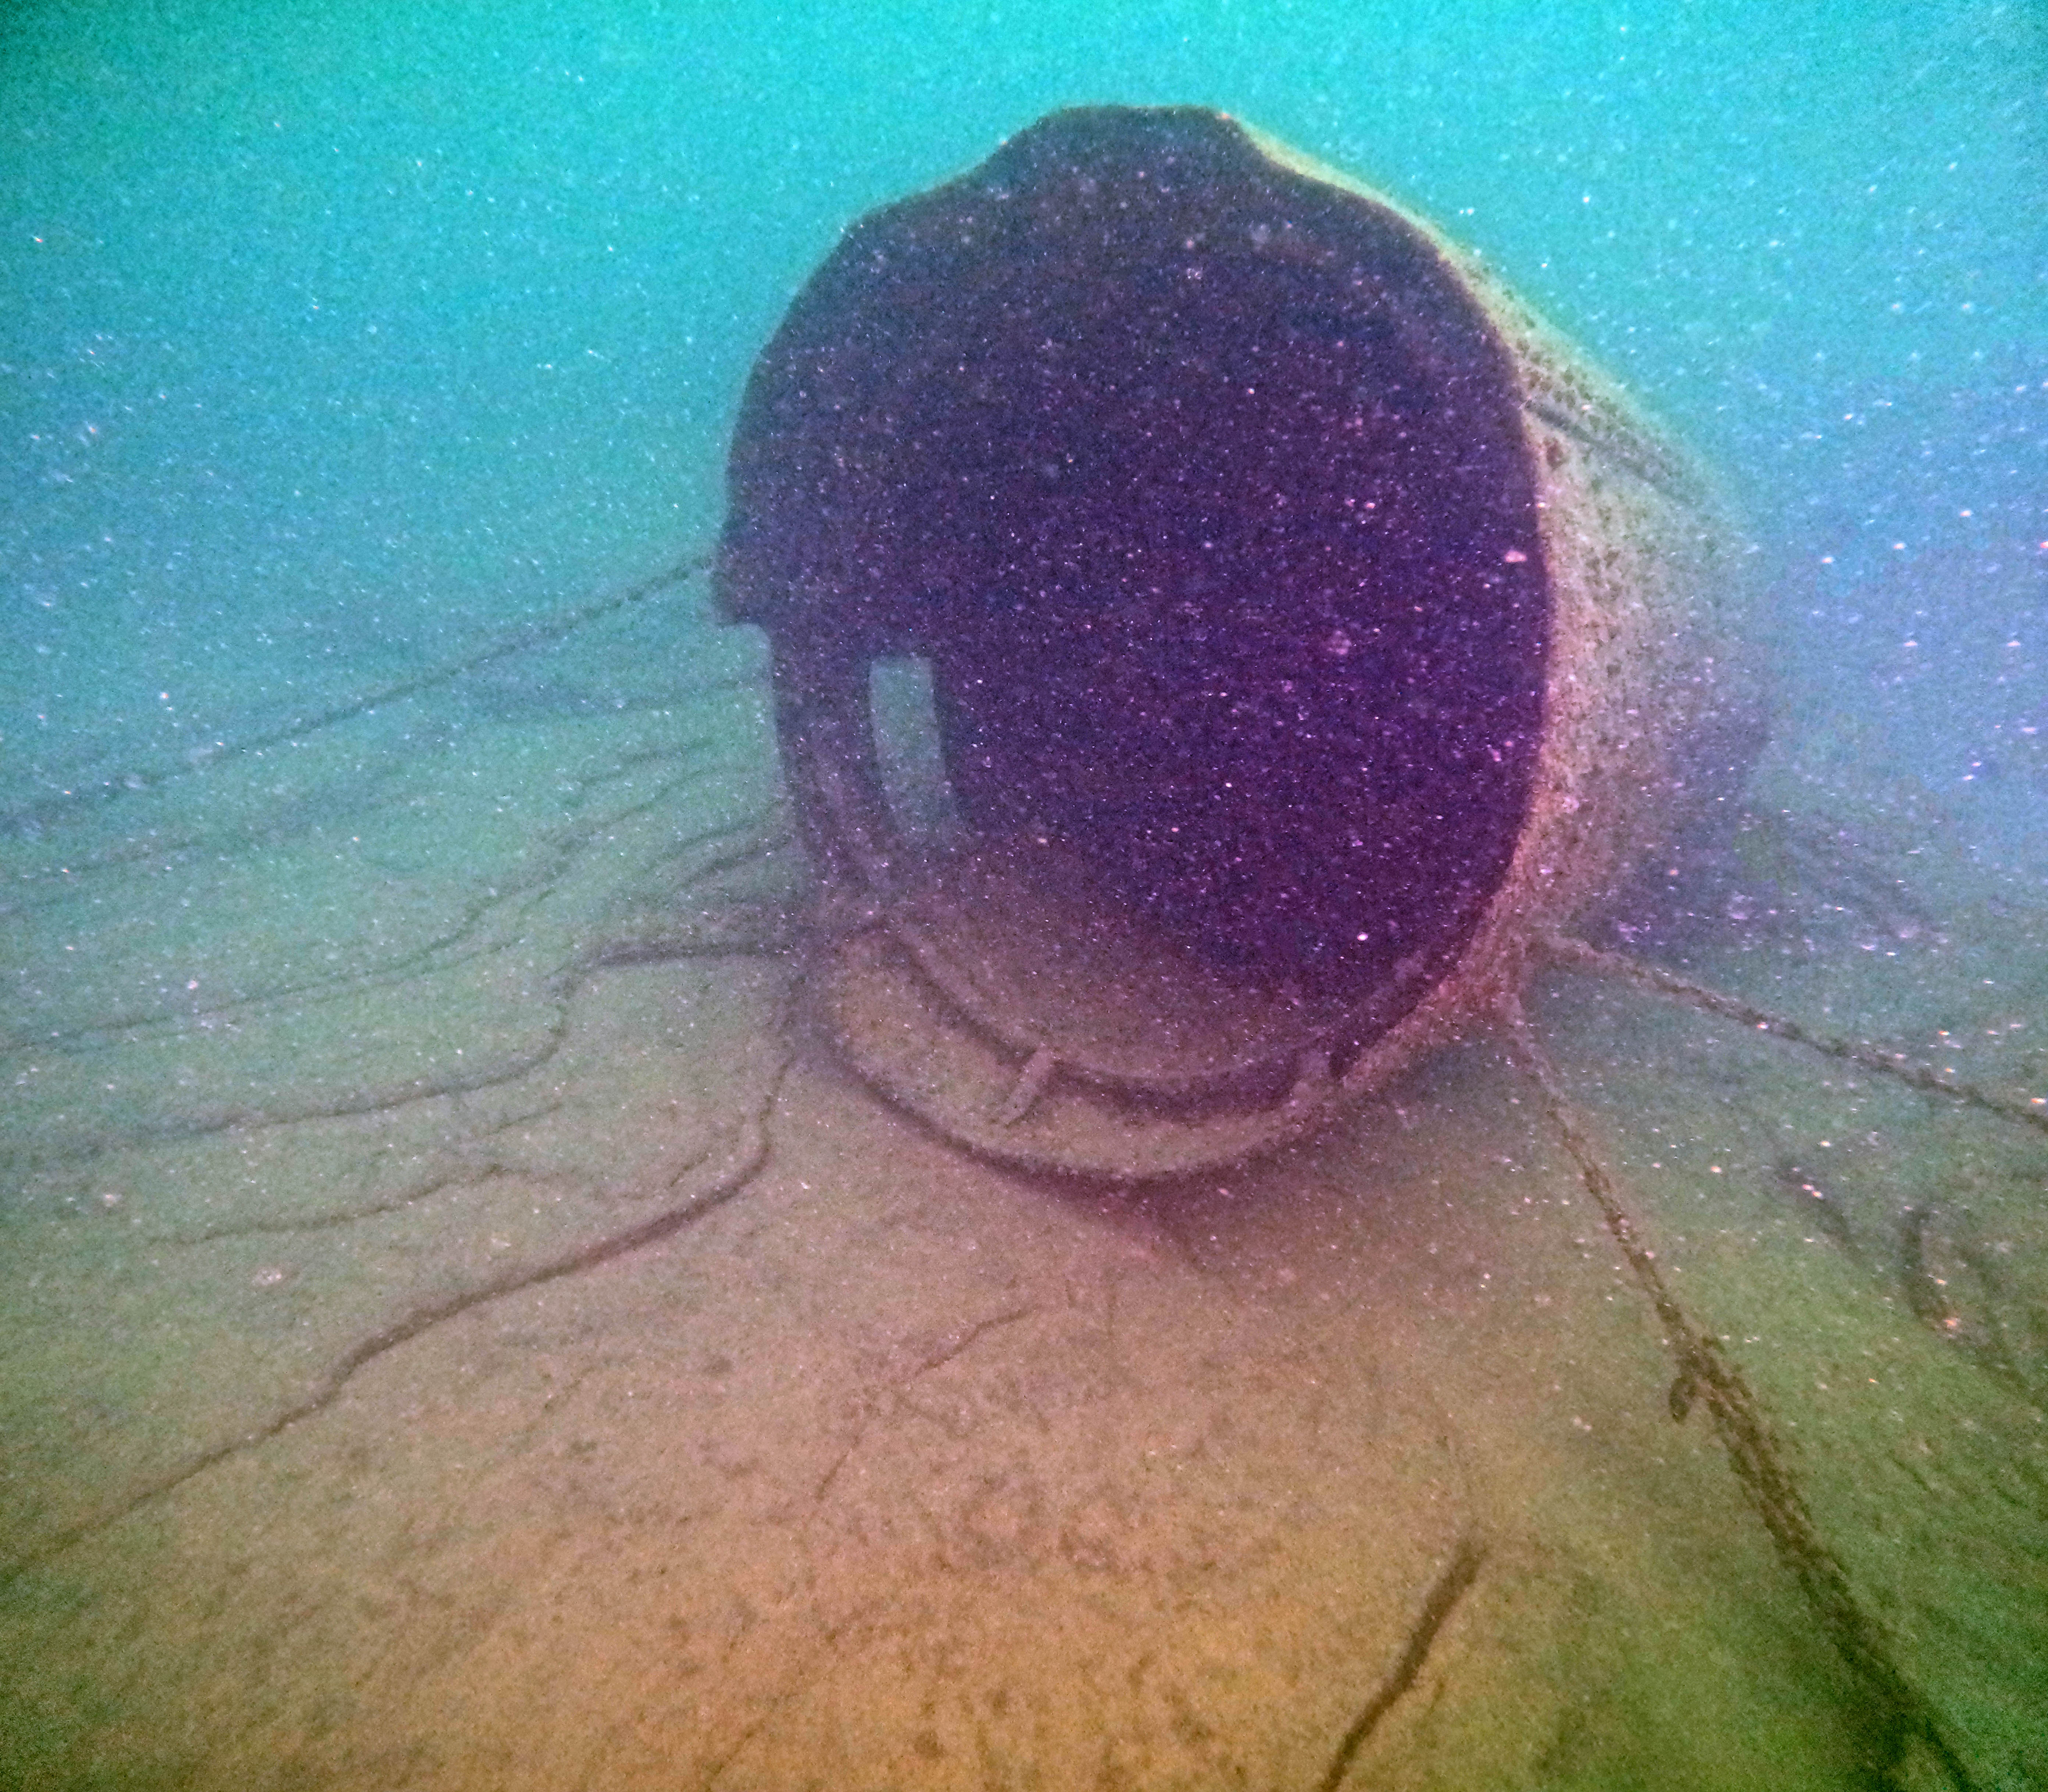
The Boiler Chained and Anchored to the Bottom. Thanks to Great Lakes Shipwreck Preservation Society.
Frames and Ceiling Planking
Another view of Frames and Ceiling Planking
 Confirmed Location
 Unconfirmed location